

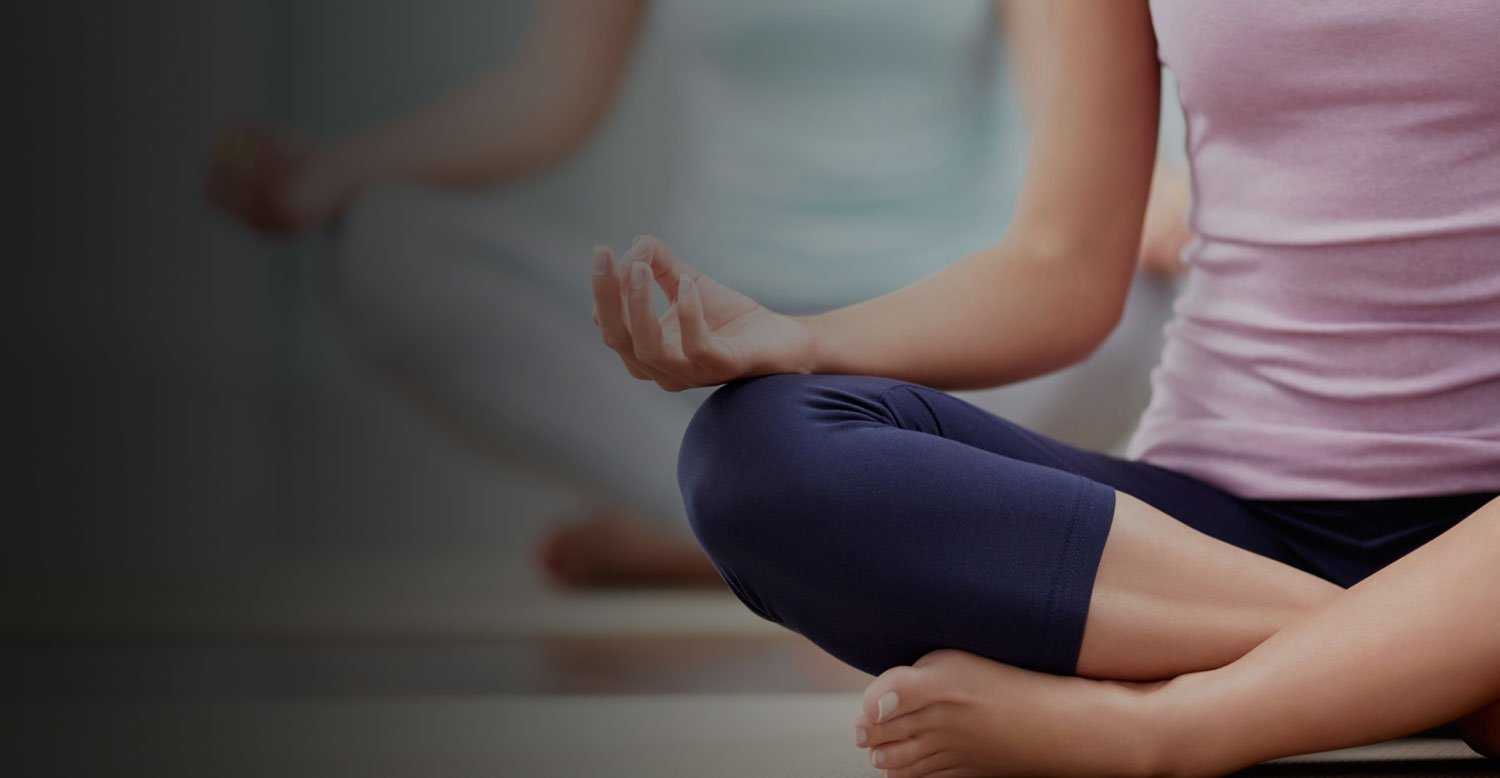
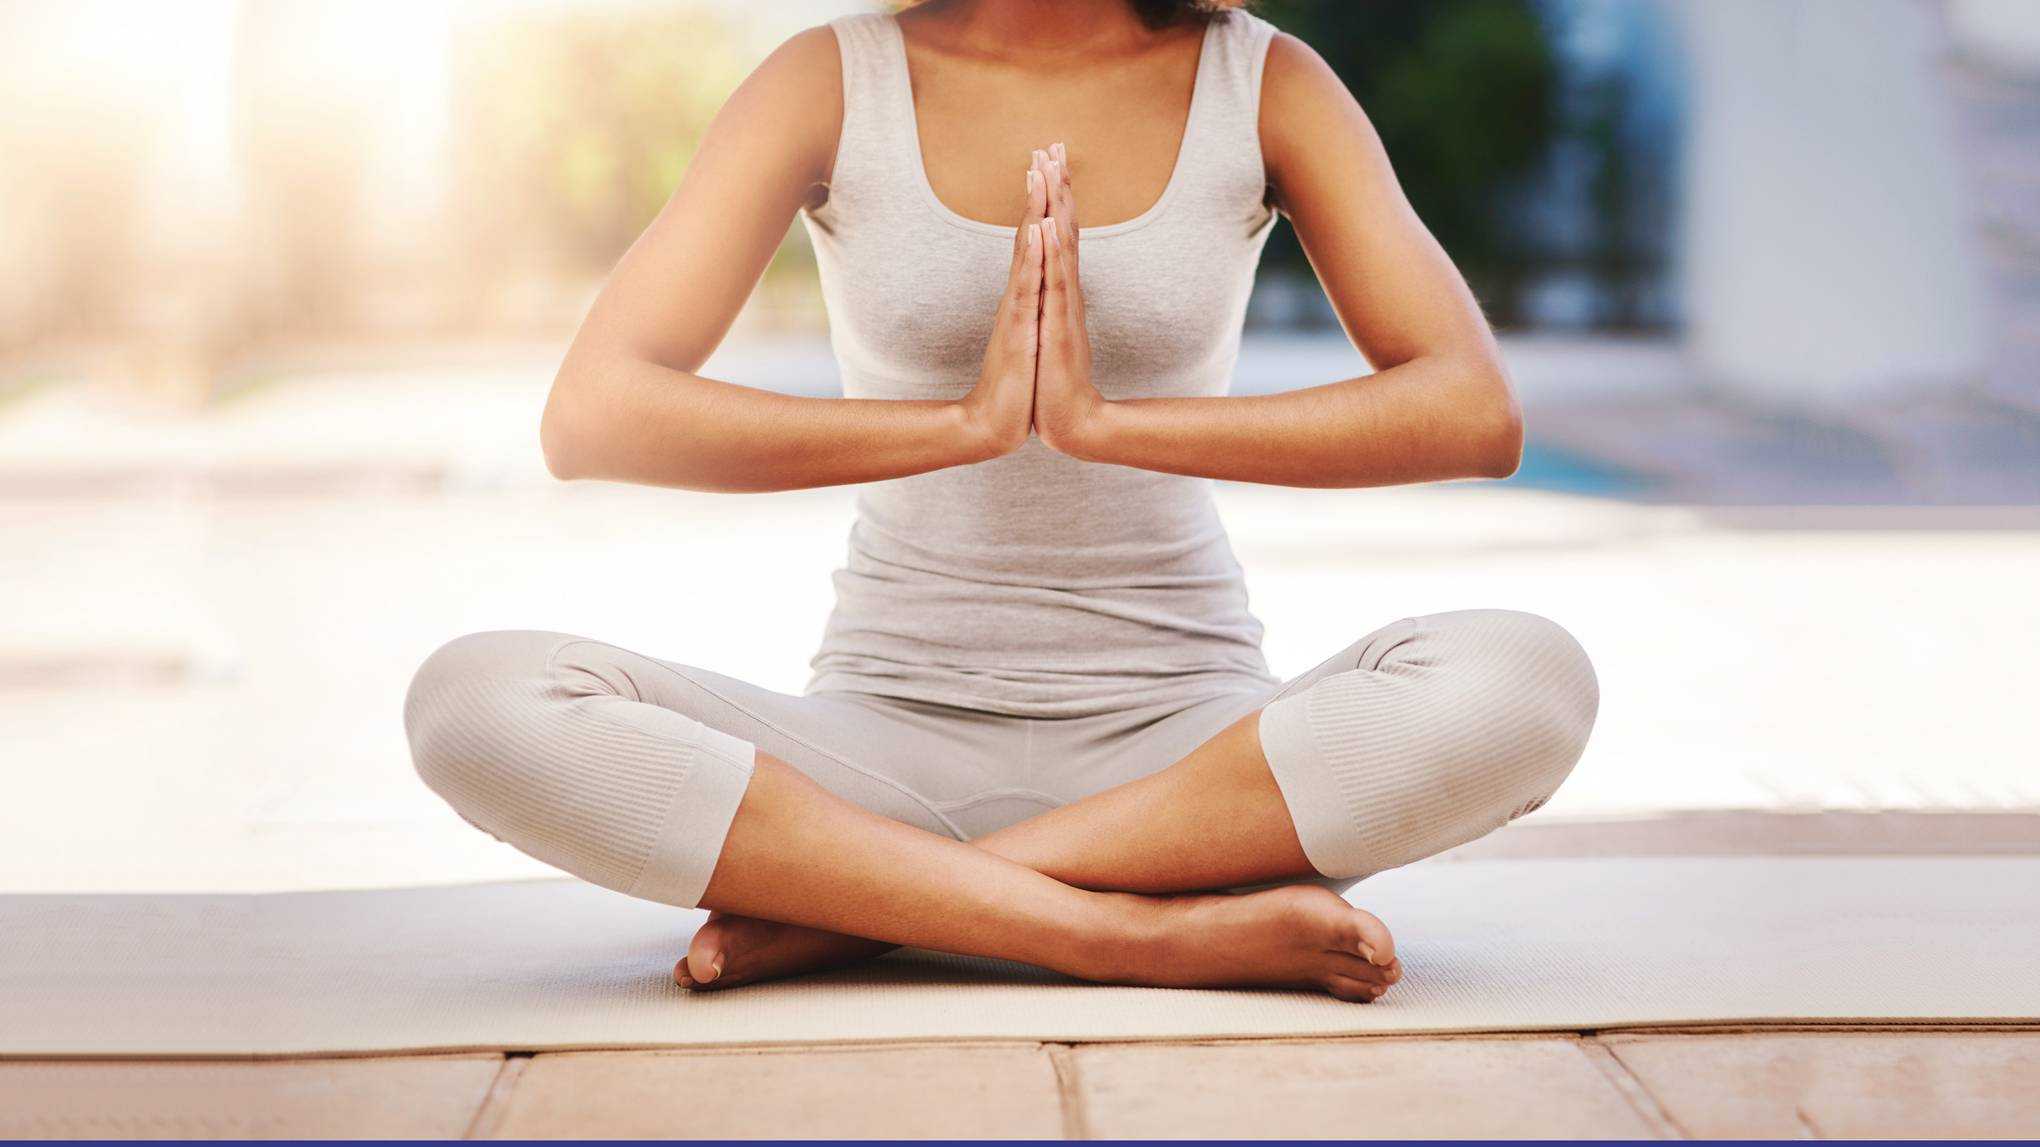
Yoga & Meditation
YOGA: Surya Namaskar (Sun Salutation) for sufferers of hypertension or heart disease


BY: TRISHA CURLING
You might hear a lot of people say “yoga changed my life”. If you aren’t a regular practitioner, this may sound questionable. How can a series of poses “change your life”? It sounds a little dramatic. It’s important to start from a place however, where you understand that yoga is more than a series poses. Within the journey of physical practice, there are many lessons that are waiting to be learned. It really does have this ability to make this change in your life, but you must first be open to it.
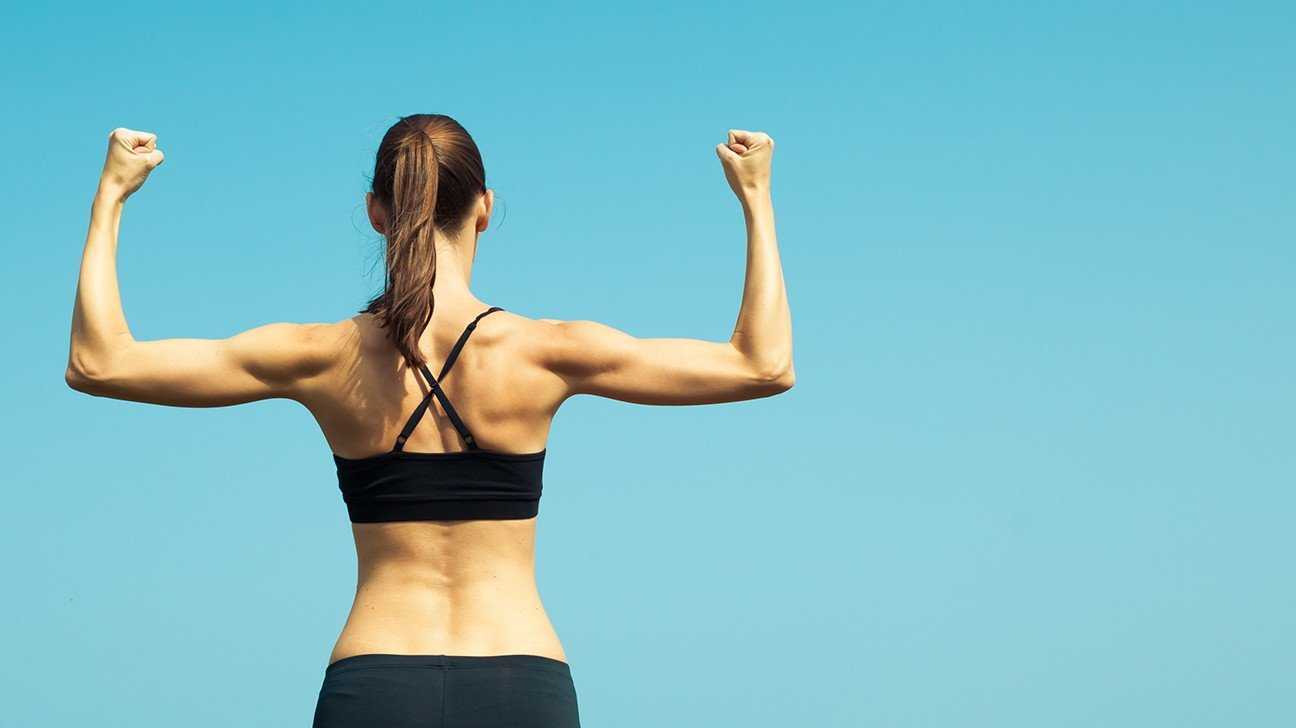
Let’s say your desire to start comes from a place in you that is purely physical, this is great because there are many benefits to receive like weight management, relief from pain, and increased mobility (just to name a few).
Let’s examine some of the ways your physical (asana) practice can have an impact in other ways:
Patience
Your asana practice calls for you to detach from your ego. Yes, the practice is in many ways goal oriented, but staying in the present and feeling the pose for what it is in the moment has its’ own way of taking you where you need to be. It’s nice to set goals of achieving particular poses and it is very rewarding to see how your body’s ability can change, but it’s the patience to get there that may be challenging or even frustrating sometimes. It’s putting the time and consistency into performing foundational poses that will help you to build the necessary skills, and/or prepare your body for what’s to come next. If you come back to what the practice is asking you, to detach, to exercise patience, then what you desire will come to you. We can take this lesson off of the mat. If you are working towards a career, or some type of financial goal, being present and taking time to take the necessary steps will only help you to build the proper foundation in order for you to have lasting results.

Reduce worry
For that hour you may spend doing an online or in person yoga class, it truly feels like meditation. You are so focused on your breath, the transitions, and the poses, that you have no time to focus on past or future events. You are totally engrossed in the moment. It feels great, there is no room for worry. A beautiful shift happens once you realize that it does not have to end when the class is over. This deep work that you are doing on the mat creates new patterns in the brain and nervous system. You are effectively teaching yourself how to do this more often. It becomes more natural in other life situations to bring your focus into the present. It does feel difficult sometimes, but just the mere awareness and then attempt to do so will help you to gain perspective in certain situations. Instead of worrying about what may happen, you learn to relinquish some control of the outcome.
Both of these things barely skim the surface of the benefits you take with you off of the mat, but I’m sure you can imagine the spillover into multiple areas of life.
Go to the mat for one reason and walk away feeling the benefit of many.
BY: TRISHA CURLING
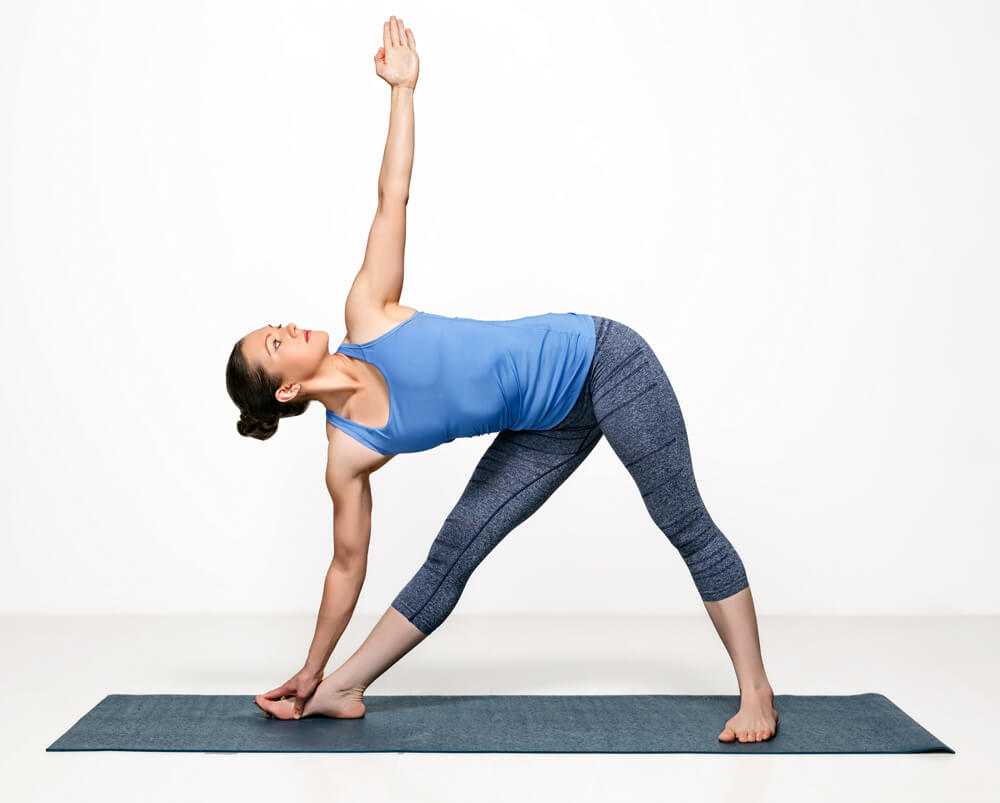
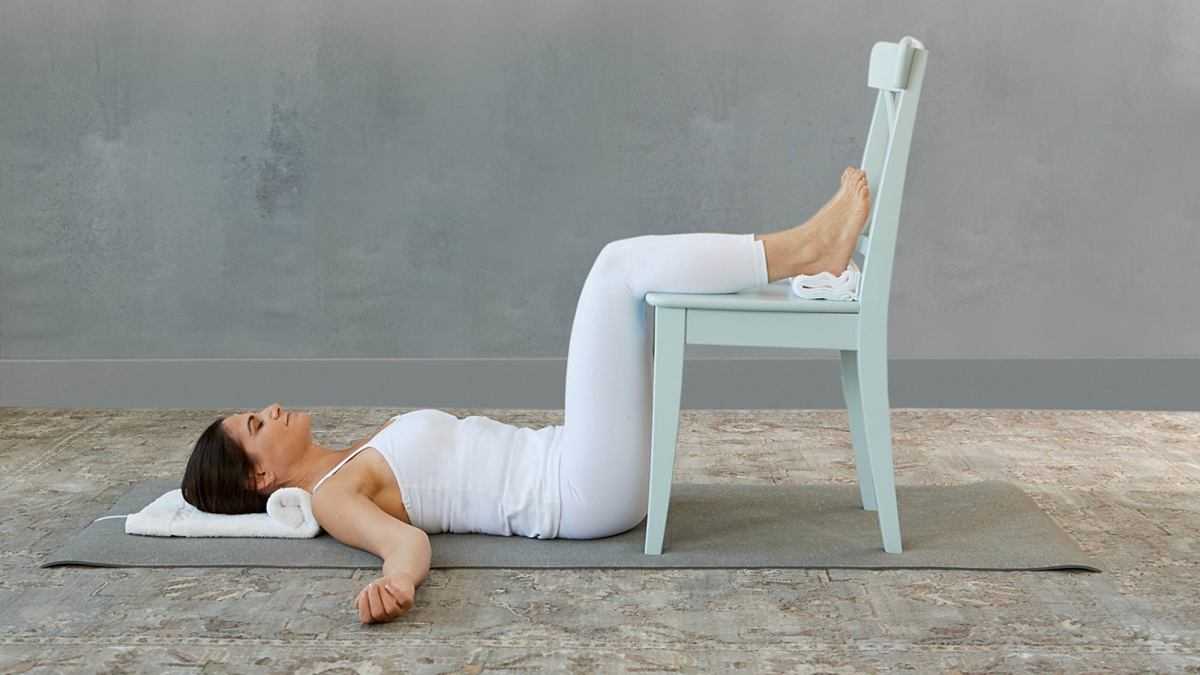
You have this nagging pain in your back, that seems to flare up just a little bit more after sitting for long periods of time. You find yourself having to get up from your desk at work to stretch and move around, just enough to find that wonky position that will help to relieve you from pain, even if it’s for just a moment. There can be a number of reasons that are contributing to it, but let’s have a look at your psoas.
This muscle is a primary hip flexor and is sometimes referred to as your Iliopsoas due to the way in which the Iliacus and psoas major are “joined” together. It’s also the only muscle in the body that connects the spine to the lower limbs.
This muscle can often become tight and weak. A couple of the reasons this may happen is because there is a consistent level of inactivity. If you are sitting for lengthy amounts of time and/or you are not giving your body the opportunity to move in a variety of angles to both strengthen and lengthen this muscle, it can contribute to this tightness and weakness.
You can also consider whether or not significant lordosis of the spine is an issue for you. This tightness and weakness can cause a “pulling” of the spine forward, therefore “tipping” the pelvis forward causing an excessive anterior pelvic tilt that causes compression in the lumbar spine that contributes to your back pain.
Here is a yoga pose that may help to offset the positioning of the pelvis and contribute to the lengthening and strengthening of the psoas.
Crescent Lunge (Anjenyasana)
From a standing position, step one foot back far enough down your mat in order to maintain lots of length in the back leg. Keep a nice bend in the front knee, all while maintaining alignment of the knee straight above the ankle or just behind it. Feet should be on parallel lines (about a hip’s distance apart so that your front hip bones are looking straight forward). Next, float your arms straight up by your ears with your palms facing one another. Keep your shoulders and hands relaxed. Also, begin to lengthen down through your tailbone while pulling your front ribs towards your back ribs. Stay there for a few breaths. This will help you to feel that length in the front of the hip in your back leg.
To increase some of the benefits, you may also vary your positioning in the pose. If you have the right leg forward, you can drop your right hand down beside you and stretch your left arm towards your right shoulder. You can take this one step further by reaching that same left arm diagonally towards the right corner of your mat. Be sure to hold these for a few breaths and repeat on each side.
It doesn’t mean that this will “fix” your pain, but practicing yoga consistently, varying your movements, and paying attention to posture throughout your day will all contribute to putting you on a path that will help to minimize. Consulting with your physician is always #1 on the list but finding yoga postures that feel helpful for YOUR BODY and practicing them consistently will help you to find ease and less pain.

BY: TRISHA CURLING
Splits or Hanumanasana carries a beautiful story and was told to me for the first time by a brilliant yoga teacher and friend from Sweden, by the name of Ingrid Andrén (Owner of Studio Move It). I won’t get into the whole story, but she took us on a journey through her entire class.
By way of the story, she helped us to understand that “This pose asks you not merely to stretch your legs but also to bring true devotion into your practice. Hanumanasana expresses the expansiveness possible…the sense that you can overcome any obstacle when your yearning to help is combined with reverence and respect…In Hanumanasana you strive to reach much further than seems humanly possible.” (Aadil Palkhivala, Yoga Column: Hanumanasana, Yoga Journal, Aug 28, 2007).
When you hear “splits” you might think, forget it, that’s not possible. You might be right, but you also might be wrong. It’s true that not every pose is for everyone and there are a number of reasons why this could be, but the journey and process arguably outweighs the end result.
There are a number of poses that will help to prepare you for Hanumanasana. Keep in mind, however, that if splits are not the pose for you, along the way you will gain benefits like increased flexibility, strength and confidence.

Here are two poses that are essential to incorporate in your regular practice.
- Seated Forward Bend (Paschimottanasana): In a seated position on your mat, extend both legs out in front of you. If the legs cannot be completely straight, take them out as long as your body will allow. Next, on an inhale, lengthen through the spine by sitting up tall. On your exhale, lean your chest forward while keeping the shoulder blades slightly drawn in towards one another. Your chest should feel as though it is reaching to touch the tips of your toes. Take your arms forward to grasp your feet. You may want to place a yoga strap around your feet if you cannot reach them. This will allow you to grab each side of the strap with your hands to walk yourself forward with more support. Stay in the pose for a few breaths and enjoy the gentle lengthening of your hamstrings and calf muscles.
- Low Lunge (Anjaneyasana): From Downward Facing Dog, shift your weight forward while stepping the right foot in front between your hands. At the same time, lower the back knee down, uncurl the toes and place the top of your foot on your mat. Brace your waist (feel as though you are lifting your pubic bone towards your chest), lengthen your tailbone down, and inhale as you lift your arms up. Stay for a few breaths to feel the lengthening of your hip flexors and repeat on the other side.
All while practicing the physicality of the postures, it is impossible to leave behind the confidence and conquering that become part of your mindset. The sense of power and accomplishment accompany these preparation poses as much as Hanumanasana itself.
The most important takeaway that Andrén left us with at the end of her class was, “Don’t tell Hanuman how big your problems are, tell your problems how big your Hanuman is..” I hope this serves you in both your journey to splits and in life.


Amplifying authentic African narratives; the stars came out at the BSO Symposium

Not just a reunion; It’s a powerful catalyst for unity and growth. Welcome to the 10thBiennial Jamaica Diaspora Conference

Sharp rise in the number of medically assisted deaths in Canada sparks concerns

“Stop egging me on!” Companies are simply getting better at carefully wording things on their packaging

Chemical hair straighteners are causing uterine cancer, fibroid tumors and infertility in women of colour

Richard Rooney gifts $5 million to the African Studies Centre and the Centre for Caribbean Studies at the University of Toronto
YOGA: Surya Namaskar (Sun Salutation) for sufferers of hypertension or heart disease
Kemtek Development launches new exclusive gated community in Jamaica!

Ravi’s West Indian Grocery – Fresh Products Weekly Straight from Guyana!

Tourism-Related Live Streaming – The Manifold Ways it Can Create a Buzz for a Destination

ASA Meats & West Indian Groceries – Serving Freshness & Quality to the Community
Do You Have a 407 ETR Story?

Nadine Sutherland – A woman who continues to reinvent herself

Knia Singh – Light Up The Darkness

Spragga Benz – Light Up The Darkness

Kyle Kemper – Light Up The Darkness

David Icke – Light Up The Darkness

Ohio’s Bill 248 and Dr. Sherri Tenpenny’s compelling testimony
-

 Community News2 weeks ago
Skills for Change hosts a highly successful connections fair for youth new to Canada
-

 Community News1 week ago
Four helpful tips to get your boss off your back
-

 Community News2 weeks ago
The Canadian Banking System is set to be radicalized by an open banking framework
-

 Community News2 weeks ago
“It’s a demographic tsunami!” Consensus about the benefits of Canada’s mass immigration is now starting to fray
-

 Community News2 weeks ago
Looking to tantalize your travel senses? In March it was Better In The Bahamas
-

 Community News2 weeks ago
Ontario invests $16.5 million in Black Youth Action Plan to develop skills for in-demand careers
-

 Community News2 weeks ago
Young people grappling with anxiety disorders and OCD can find substantial relief and improved quality of life in 2024
-

 Community News5 days ago
Unveiling the canvas of resilience: Dwayne Grant’s journey through art